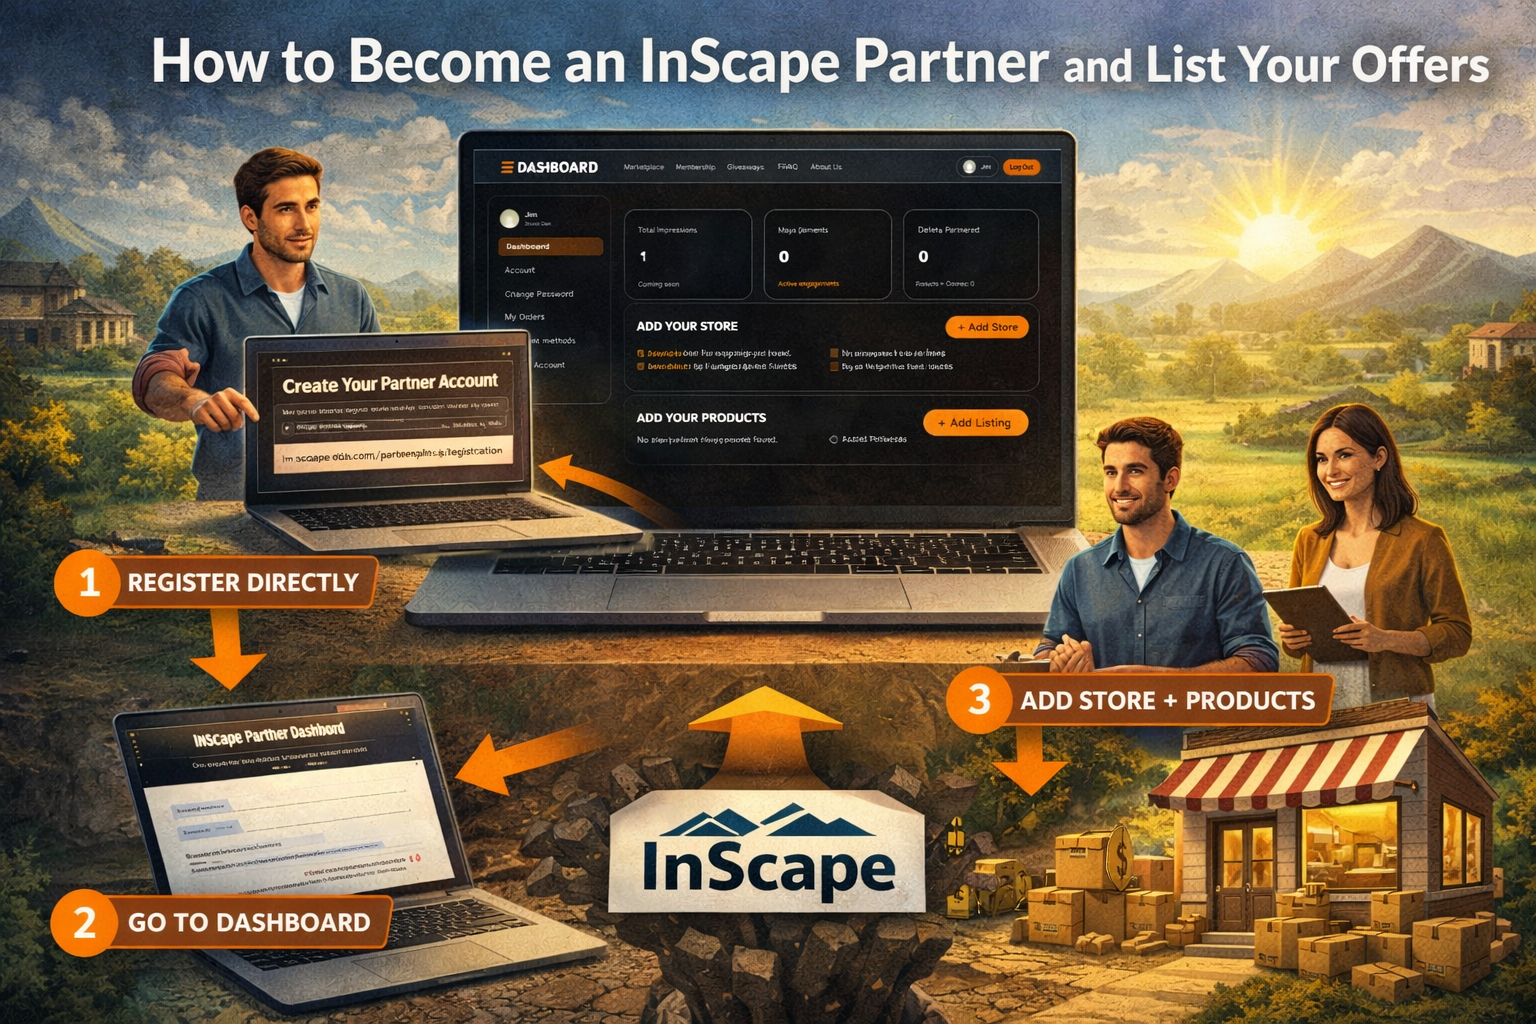
Becoming an InScape Partner is simple. In just a few steps, you can create your partner account, add your store, and start publishing promotional offers inside the marketplace.
This guide walks you through the complete process.
Step 1: Register as a Partner
To get started, visit the direct registration page:
Registration URL:
https://inscapedls.com/partnership-registration/
On this page, you will see the Create Your Partner Account form.
Complete the required information and submit the form. Once your registration is successful:
-
You will automatically be logged in
-
You will see a confirmation message
-
You will see a button labeled “Go to Partner Dashboard”
Click Go to Partner Dashboard to proceed.
Step 2: Access Your Partner Dashboard
After logging in, you will land inside your Partner Dashboard.
From here, you can:
-
View your dashboard overview
-
Add a new store
-
Add new products or promo listings
-
Manage your account
This dashboard is your central control panel as an InScape Partner.
Step 3: Add Your Store
Before adding products, you must first create your store profile.
You can add a store in two ways:
-
Click + Add Store from your Partner Dashboard
-
Visit the direct URL:
https://inscapedls.com/add-store/
Store Information Required
On the Add Store page, you will fill in:
-
Store Title
-
Store Logo
-
Store Cover Photo (optional)
-
Short Description
-
Email Address
-
Phone Number
-
Street Address
-
City
-
State
-
ZIP Code
-
Location Map Address
-
Latitude and Longitude (optional)
-
Website
-
Social Media Links (Facebook, Instagram, TikTok, Twitter/X, LinkedIn)
After completing the form, click Submit.
Once approved (if moderation applies), your store will appear under Your Stores in the dashboard.
Step 4: Add Your Product or Promotional Offer
After creating your store, you can begin adding products or promo listings.
To add a product:
-
Click + Add Listing from the dashboard
or -
Visit the direct URL:
https://inscapedls.com/add-product/
Product Information Required
On the Add Product page, you will complete:
-
Title
-
Product Images
-
Description
-
Attach Store (select your previously created store)
-
Category
-
Selection Type (Promo or Offer)
-
Promo Code (if applicable)
-
Redeem Instructions
Once completed, click Submit.
Your listing will then be processed and made available inside the InScape Marketplace.
What Happens Next?
Once your store and products are live:
-
Members can discover your offers
-
You retain full control of your customer transactions
-
InScape does not take commission on your sales
-
You maintain ownership of your customer relationships
Your Partner Dashboard allows you to:
-
Track listings
-
Add additional products
-
Create new stores if needed
-
Manage account settings
Summary of the Full Process
-
Register as a Partner
-
Click “Go to Partner Dashboard”
-
Add your Store
-
Add your Products or Promo Offers
-
Start reaching InScape members
Ready to Get Started?
Register here:
https://inscapedls.com/partnership-registration/
Create your store.
Add your offers.
Keep your margin.
Welcome to InScape.